
How To Patch a Dyneema (Formerly Cuben Fiber) Backpack
Editor’s note: Hyperlite Mountain Gear also sells Dyneema® Repair Kits (formerly Cuben Fiber Repair Kits) which we recommend for patching a hole in a Hyperlite Mountain Gear backpack or tarp/shelter. By using the Dyneema® tape, you maintain the strength of the pack because you are using the same lightweight, ripstop and waterproof fabric as the pack itself. To properly use one of these kits to repair a pack or shelter, follow the same instructions as below, but don’t complete the third step. The powerful adhesive on the back of the tape means that the Seam Grip is not necessary, saving you a step and a sticky mess. If you can’t get your hands on a Hyperlite Mountain Gear Repair Kit, we recommend that you follow these directions on how to patch a backpack written by Chris Atwood.
How to Patch a Backpack Deep in the Backcountry
Words & photos by Chris Atwood
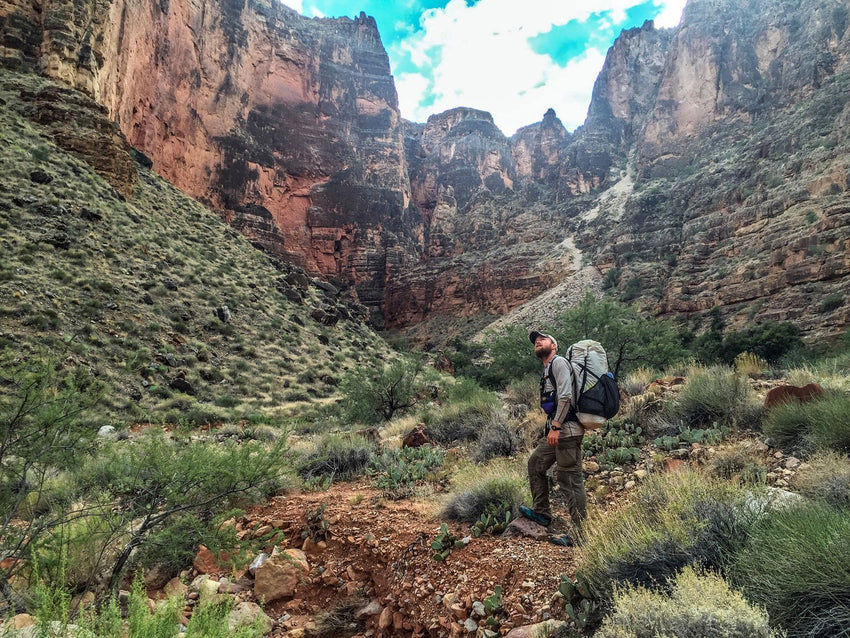
After 57 days in the Grand Canyon backcountry, my Hyperlite Mountain Gear Southwest 4400 still looks great. It saw the spectrum of conditions, literally every type of weather imaginable below the Canyon’s rim, yet never failed to protect my kit. It carried very well, proved elegantly functional with its minimalist design and came to Pearce Ferry in great structural condition.
However, the outback of Grand Canyon is tough on gear. Most routes, in addition to being choked with poking, clawing and slicing flora are themselves composed of carnivorous limestone, eager to nibble any exposed flesh or backpack side pocket that wanders into the kill zone. We sometimes willingly drag and scrape our packs along such routes, hauling precious drinking water from deep within slot canyons. With this type of abuse, a thru hiker is bound to get a few holes in her/his pack. Fortunately, repairs in the field can be easy if done right. Here’s how to patch a backpack.

On my recent through hike of Grand Canyon, I had to perform this not-so-delicate operation four times. And now that I’m home, I’ve noticed another wound in need of repair.
Time to get this pack ready for the next hike!


Step 1: Clean the Wound

Use an alcohol wipe to clean the area around the hole. This will promote tape and Seam Grip adhesion to the Dyneema® Composite Fabric (formerly Cuben Fiber) pack material. While in the field, I used a WetOnes hand sanitizer wipe, and it proved adequate.
Step 2: Apply Tape to the Inside
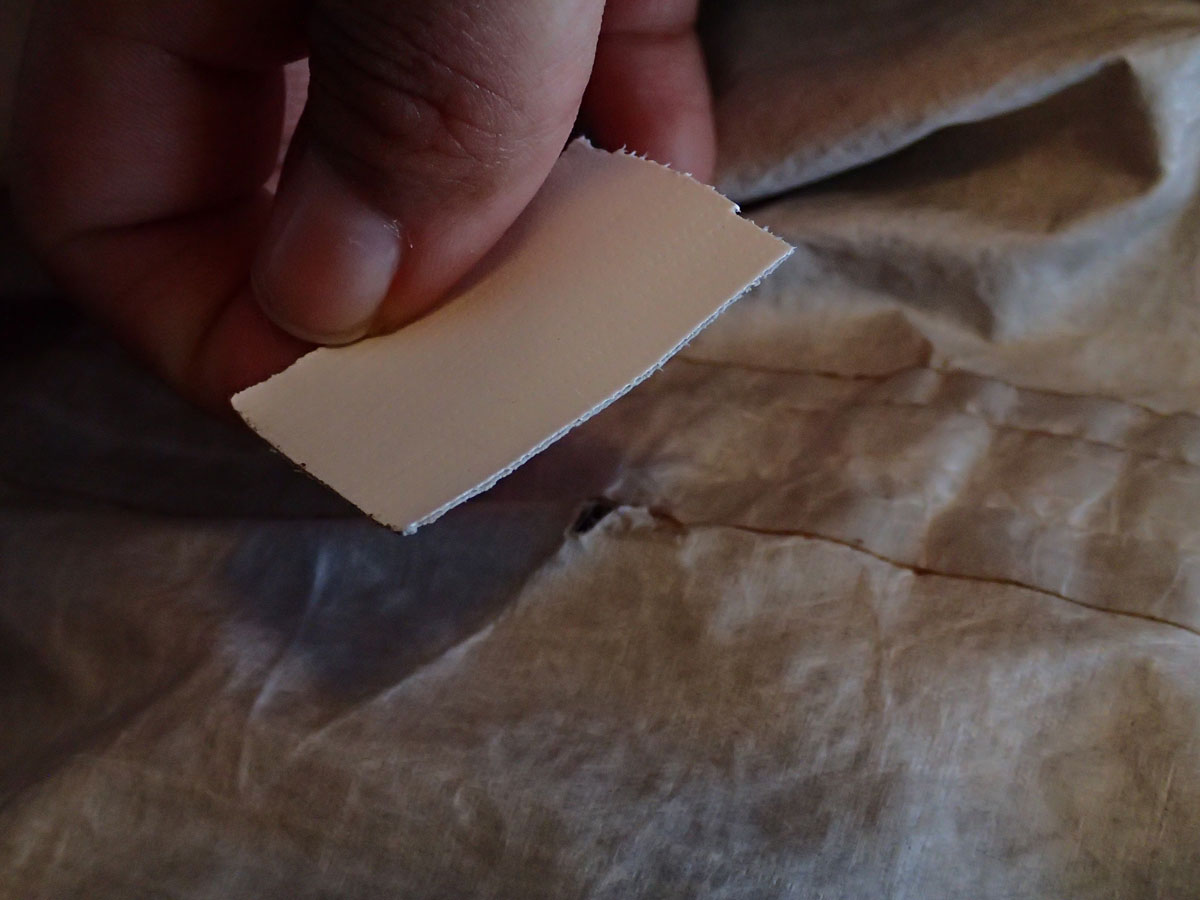
Apply a piece of tape from the large enough to cover the hole on the INSIDE of the pack. I used Gorilla Tape, but duct tape and Dyneema® tape would both work just as well. Be sure all edges of the tape are pressed down and adhered well.
Step 3: Seam Grip the Hole

Apply enough Seam Grip* to completely seal the hole. If it’s an especially nasty rip or you are the paranoid type, apply a second layer once the first is tacky.
*On our Grand Canyon through hike, Seam Grip proved an invaluable repair tool. We used it on everything, from our shoes and hiking poles to our air mattresses and packs.
Allow the repair some cure time, preferably overnight. Once dry, your pack will be as structurally sound and water resistant as when new. Now, try and keep it out of the Catclaw next time! But even if you don’t at least you know how to patch a backpack in a way that will last.
The post How To Patch a Dyneema (Formerly Cuben Fiber) Backpack appeared first on Hyperlite Mountain Gear Blog.