
Raise the Roof – The Incomparable Qualities of the Ultamid (and Tips and Tricks for Set Up and Care)
Hopefully, when one thinks of “home,” they’re quick to jump to their own combinations of security, comfort, sentimentality, and pride. Imagine if you could take that thing called home and change the view out the front door anytime you wanted by moving it around and pitching it in some of the wildest and most beautiful places on Earth.
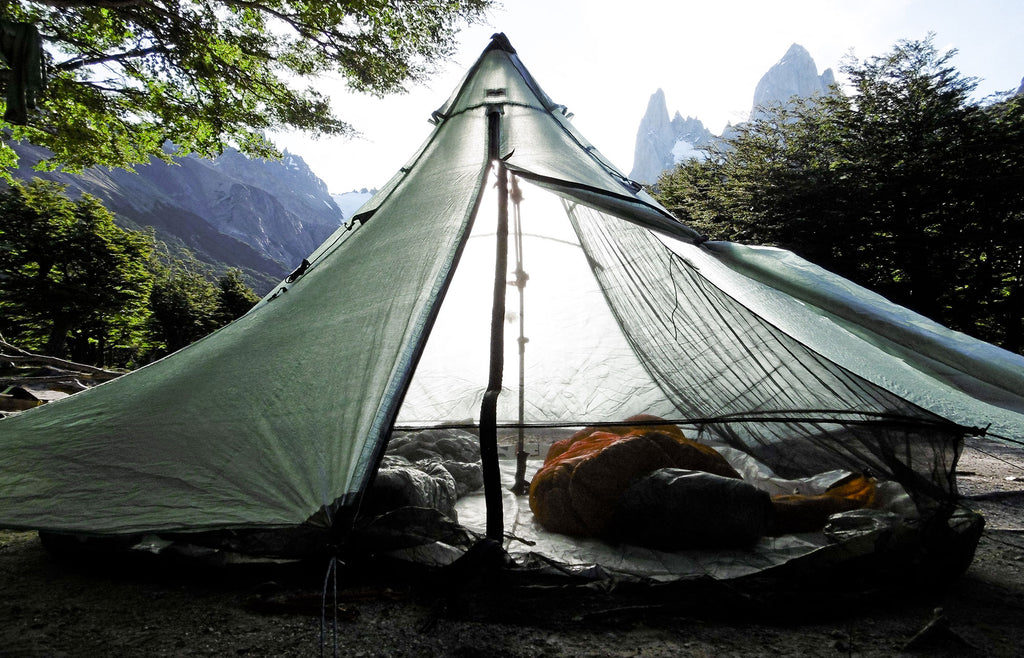
WELCOME TO #THEULTAMIDEXPERIENCE
The pyramid shelter can be traced back to the Iron Age. It certainly has few rivals when it comes to a vetted design. It’s easy to set up, incredibly mobile, roomy, and robust.
In all but the most insane weather, the pyramid shelter is the one to hedge your bets on for survival. The surface area of a pyramid decreases as the height of the shelter increases, and there are no faces left perpendicular to strong winds. Of course, well-placed and ironclad stake out points are critical for the whole system to work, but you’re already starting out with better odds than you would with some modern tetrahexahedagons.
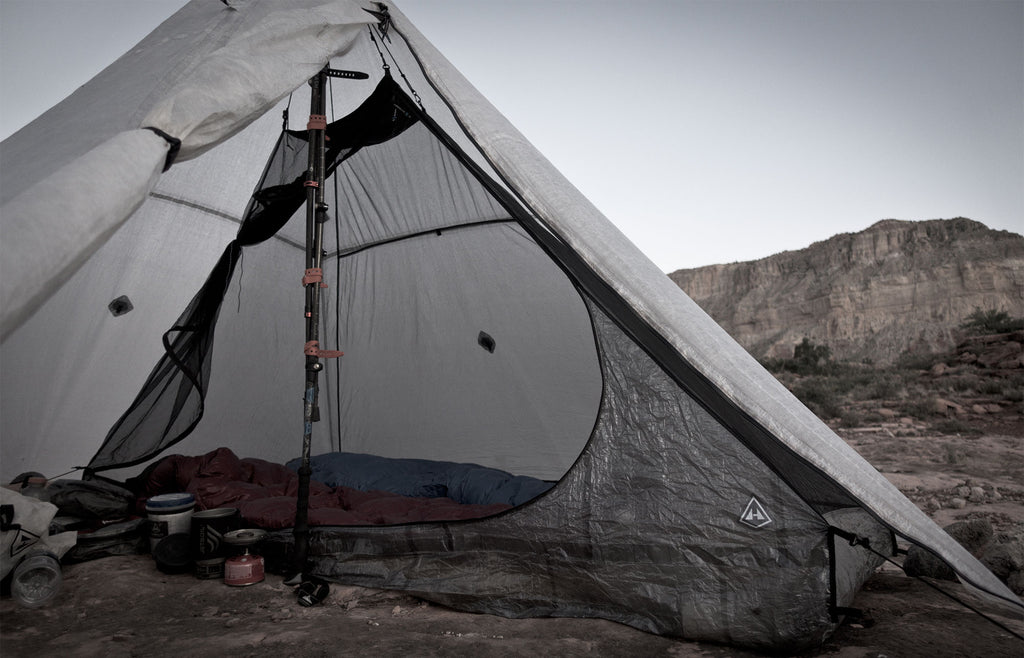
The UltaMid is constructed with 100% waterproof Dyneema® Composite Fabrics to catapult the pyramid shelter design into new realms. Its scant weight relieves any burden of home ownership, and because of the incredible attributes of these fabrics, moisture issues or material breakdown concerns are non-issues. This is one structure that will remain long after others are condemned.
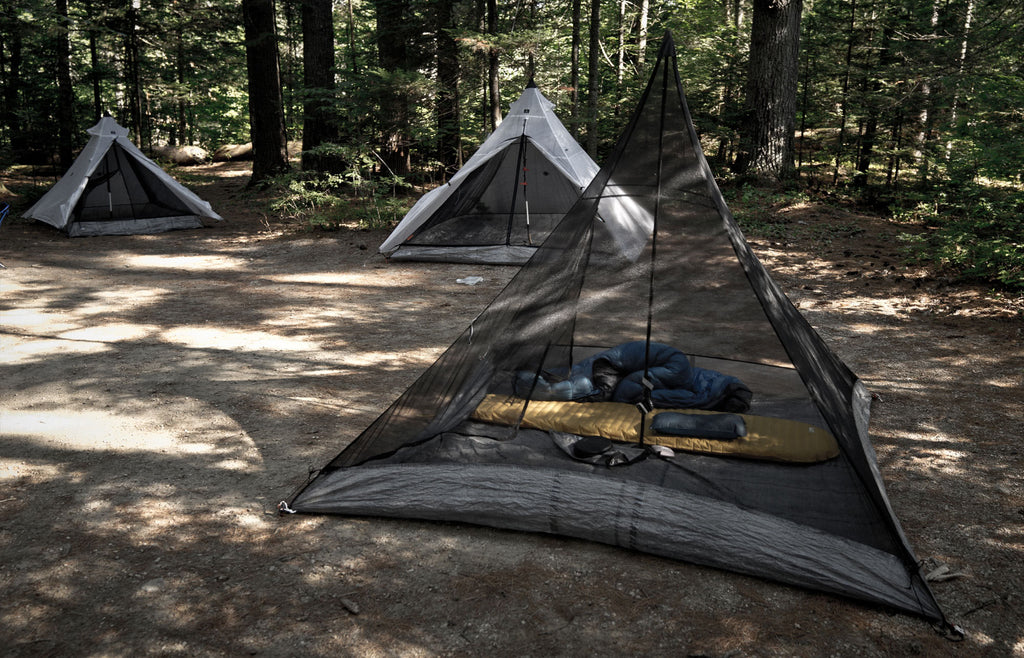
You can customize your set up depending on where you’ll be living. Use it with the UltaMid Mesh, No Floor in arid environments or if lightweight bug protection is the primary goal. Where it’s wet, go with the Full or Half Inserts with a DCF11 bathtub style floor. Pitch the UltaMid with adjustable trekking poles, paddles, a stout tree branch, or suspend it from the central peak.
We encourage you to familiarize yourself with set up for the best results and to avoid any unnecessary damage to your UltaMid. With a solid technique and the knowledge to properly care for your shelter, your UltaMid will see you through countless endeavors. To help, we’ve put together this post (and accompanying PDF) that covers our recommendations for the basic setup as a good starting point for perfecting your technique.
TOOLS NEEDED:
- Center Pole (Recommended: 2 Trekking Poles – or Carbon Fiber Pole, Tree Branch, Paddle, etc…)
- UltaMid Pole Straps
- Tent stakes (Minimum of 5 for the essential setup)
- Stake Hammer (or a rock or similar device)
STEP ONE: CREATE YOUR CENTER POLE:
The center pole height should be 64″ for the UltaMid 2 and 75” for the UltaMid 4. Please note that how high the center pole is and how much guy line is extended will affect how close the bottom of the UltaMid is to the ground.
Trekking Poles: Our recommended way of creating the center pole. Place your trekking pole ends tip to tip and use UltaMid Pole Straps to bind them together.
Tree Branch: If you can find one the proper length and aren’t expecting serious winds – this is always a fun option.
Carbon Fiber Pole: We’ve had some success using Ruta Locura 710 Carbon Fiber Tent Poles but would advise using caution in high winds.
No Center Pole: Every UltaMid comes equipped with a webbing loop at the top. So, with some careful campsite selection, you are able to hang the shelter off a low hanging tree branch using the included (extra) guy line. We also include a caribiner with our UltaMid 2 and 4 full inserts (with and without floors) to attach the peak of the insert to the peak of the shelter when suspending it.
Get Creative: Skis. Paddles. A bike with one trekking pole precariously attached. All of these are examples of some of the creative ways we’ve seen the UltaMid setup.
STEP TWO: LAYOUT THE ULTAMID AND STAKE OUT THE CORNERS:
- Zip the UltaMid door closed before laying it out and staking out the corners.
STEP THREE: GET THE CORNERS AS CLOSE TO 90-DEGREES AS POSSIBLE
- Temporarily stake out the UltaMid with 90° angles at each corner.
- Adjust each corner using the guy lines to achieve the required angles throughout this process. The guy lines should line up with the seams of the UltaMid.
STEP FOUR: INSERT YOUR CENTER POLE (RAISE YOUR ROOF)
- With all four corners staked out, unzip and open the door to get inside the UltaMid and insert the center pole.
- Adjust the height to get the UltaMid taut.
STEP FIVE: ADJUST THE GUY LINES
- To achieve even tension amongst all four side walls, you may have to loosen tight guy lines, and tighten the opposing sides. Evening out the tension is the key to flat, taut walls.
- Re-zip the UltaMid door and make any necessary adjustments to the guy lines.
INSTRUCTIONS FOR SETTING UP THE ULTAMID MESH INSERT, NO FLOOR
NOTE: Insert is most easily installed after the UltaMid is staked out.
- Temporarily take the center pole out of the UltaMid.
- Place the center pole into the dome of the Insert.
- Re-raise the UltaMid with one end of the center pole in the Insert’s dome and the other onto the reinforced patch of the Insert’s floor.
- Spread out the Insert and attach the corners to the d-rings at each corner of the UltaMid.
- Adjust the Insert’s corner tension with the shock cords.
INSTRUCTIONS FOR SETTING UP THE ULTAMID INSERT WITH DCF11 FLOOR
NOTE: Insert is most easily installed after the UltaMid is staked out, but can be also pitched by itself.
- Temporarily take the center pole out of the Ultamid.
- Place the centerpole into the dome of the Insert.
- Re-raise the Ultamid with one end of the centerpole in the Insert’s dome and the other onto the reinforced patch of the Insert’s floor.
- Spread out the Insert and attach the corners to the d-rings at each corner of the UltaMid.
- Adjust the shock cords and stake out the corners of the floor.
INSTRUCTIONS FOR SETTING UP THE ULTAMID HALF INSERT
NOTE: Insert is most easily installed after the UltaMid is staked out.
- Spread out the Insert underneath the UltaMid and attach the wall side corners to the d-rings at each corner of the UltaMid
- In the peak of the UltaMid, detach the shockcord from the top of the Half Insert and pass it through the two small loops on the inside peak, connecting back to the Insert.
- Stake out the inside corners, and adjust the shock cords on the corners and top of the insert.
OTHER CONSIDERATIONS:
CLEANING: Take the time on a dry sunny day and wash your shelter out, spot-cleaning any areas that need it. A hose with a bucket of water and a mild soap (powdered detergent works well, do not use bleach) will work on any of our DCF fabrics. Air-dry your shelter by either pitching it and leaving it out with the door open or hang-dry it. Make sure your shelter is completely dry before folding and packing it into a Stuff Sack. This will help protect the fabric and keep it safe from any damage.
STORAGE: Store your UltaMid in a dry place with minimal fluctuation in temperature if possible.
ANCHOR: Anchor your shelter properly at all times to reduce the risk of loss or injury to the shelter or occupants. In loose sand or snow, consider using a dead man anchor instead of stakes.
NO FIRE: Never place your stove, campfire, or any other flame source in direct contact with your shelter. Never use, or light, or refuel a stove, lantern, heater, or any other heat source inside your shelter. Death by carbon monoxide poisoning and/or serious burns are possible.
VENTILATION: Maintain adequate ventilation inside your shelter at all times. Death by suffocation is possible.
ONGOING REPAIR: Periodically check stake-out points and trekking pole contact areas for signs of stress or tears and repair any damage before continued use. Please drop us a line if you ever need assistance or advice for a repair.
CAMPSITE SELECTION: Carefully consider the possibility of falling rocks or tree limbs, lightning strikes, flash floods, avalanches, strong winds, and other objective hazards when choosing a campsite to reduce to risk of loss or injury to the shelter or occupants.