AT Thru Hike Gear Guide
February 25, 2016

Therese Hobson’s Studious Approach to Gear for the Appalachian Trail
Therese Hobson completed a NOBO thru hike of the Appalachian Trail this year, taking with her not just gear, but a good base of knowledge and confidence that came from doing her research about it before she started. Here she dives into detail about the crucial “Big Three” that become the foundation life on trail with pre-purchase and post-hike thoughts about it all. If hiking the AT is in your plans for the coming year, adopting a meticulous investigative process can reap great rewards. It’s also pretty enjoyable.
Words and Photos by Therese Hobson
What an interesting endeavor it is to break away from society for six months to hike a long trail. Life is made simple in the woods. It’s just you, your pack, and its contents. Existence becomes repetitive in the most beautiful way– you wake up, break down camp, hike, eat, and sleep. The moment’s in-between dawn, and dusk are spent moving through, over, and around mountains.
Movement is a core element of thru hiking, and thus, proper gear, clothing, and footwear are essential components of being a successful thru hiker. Taking all this into account, it’s not hard to imagine that effective gear choices radically boost one's overall experience.
Creating the appropriate gear list is a substantial personal undertaking, but it’s also fun! Examining other hikers’ lists can be immensely beneficial and is a great resource for prospective thru hikers. I spent more time than I’d like to admit analyzing the gear lists of thru hikers past. In doing so, my gear vocabulary expanded alongside my confidence. By diligently researching gear choices, I gained an integral understanding of what made certain pieces of gear fundamentally better for hiking the Appalachian Trail.
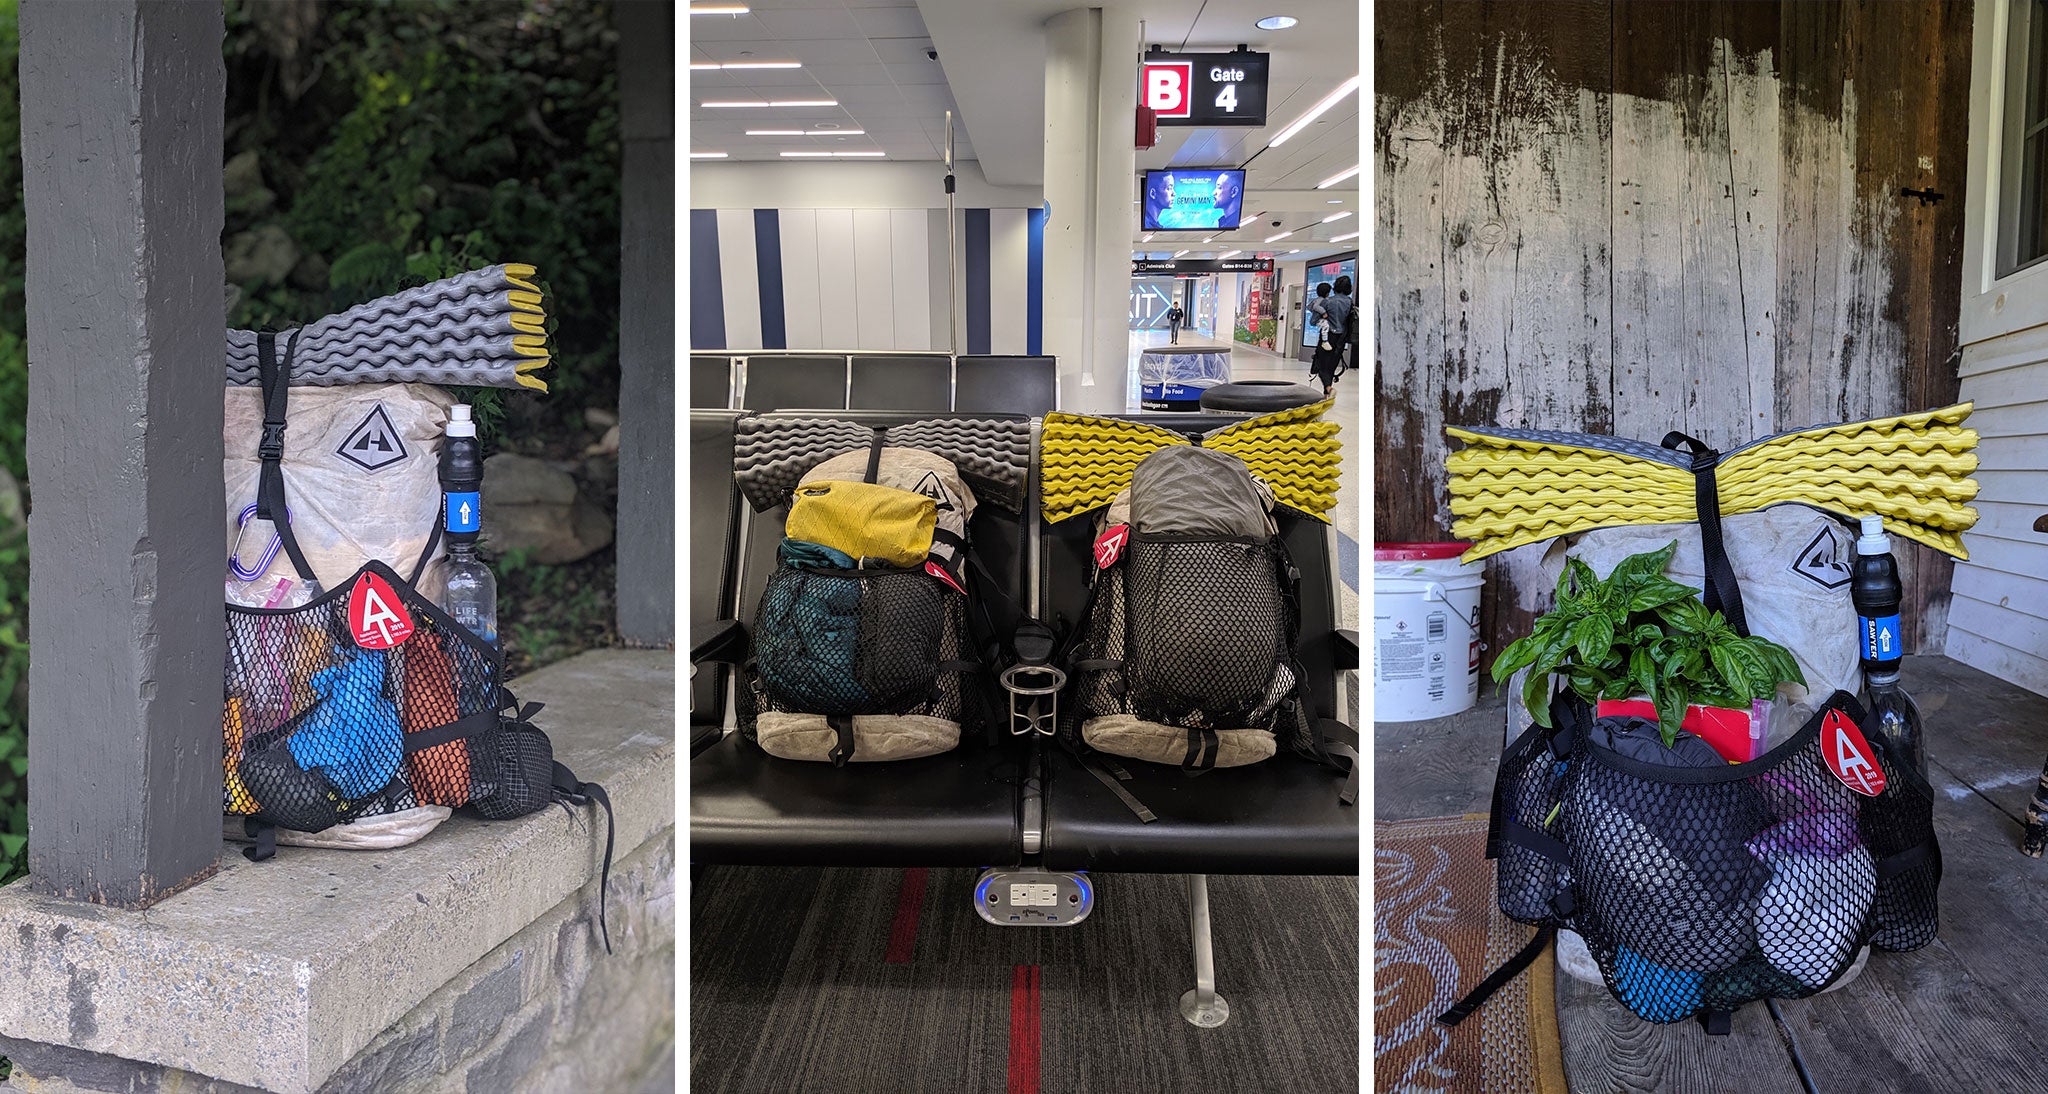
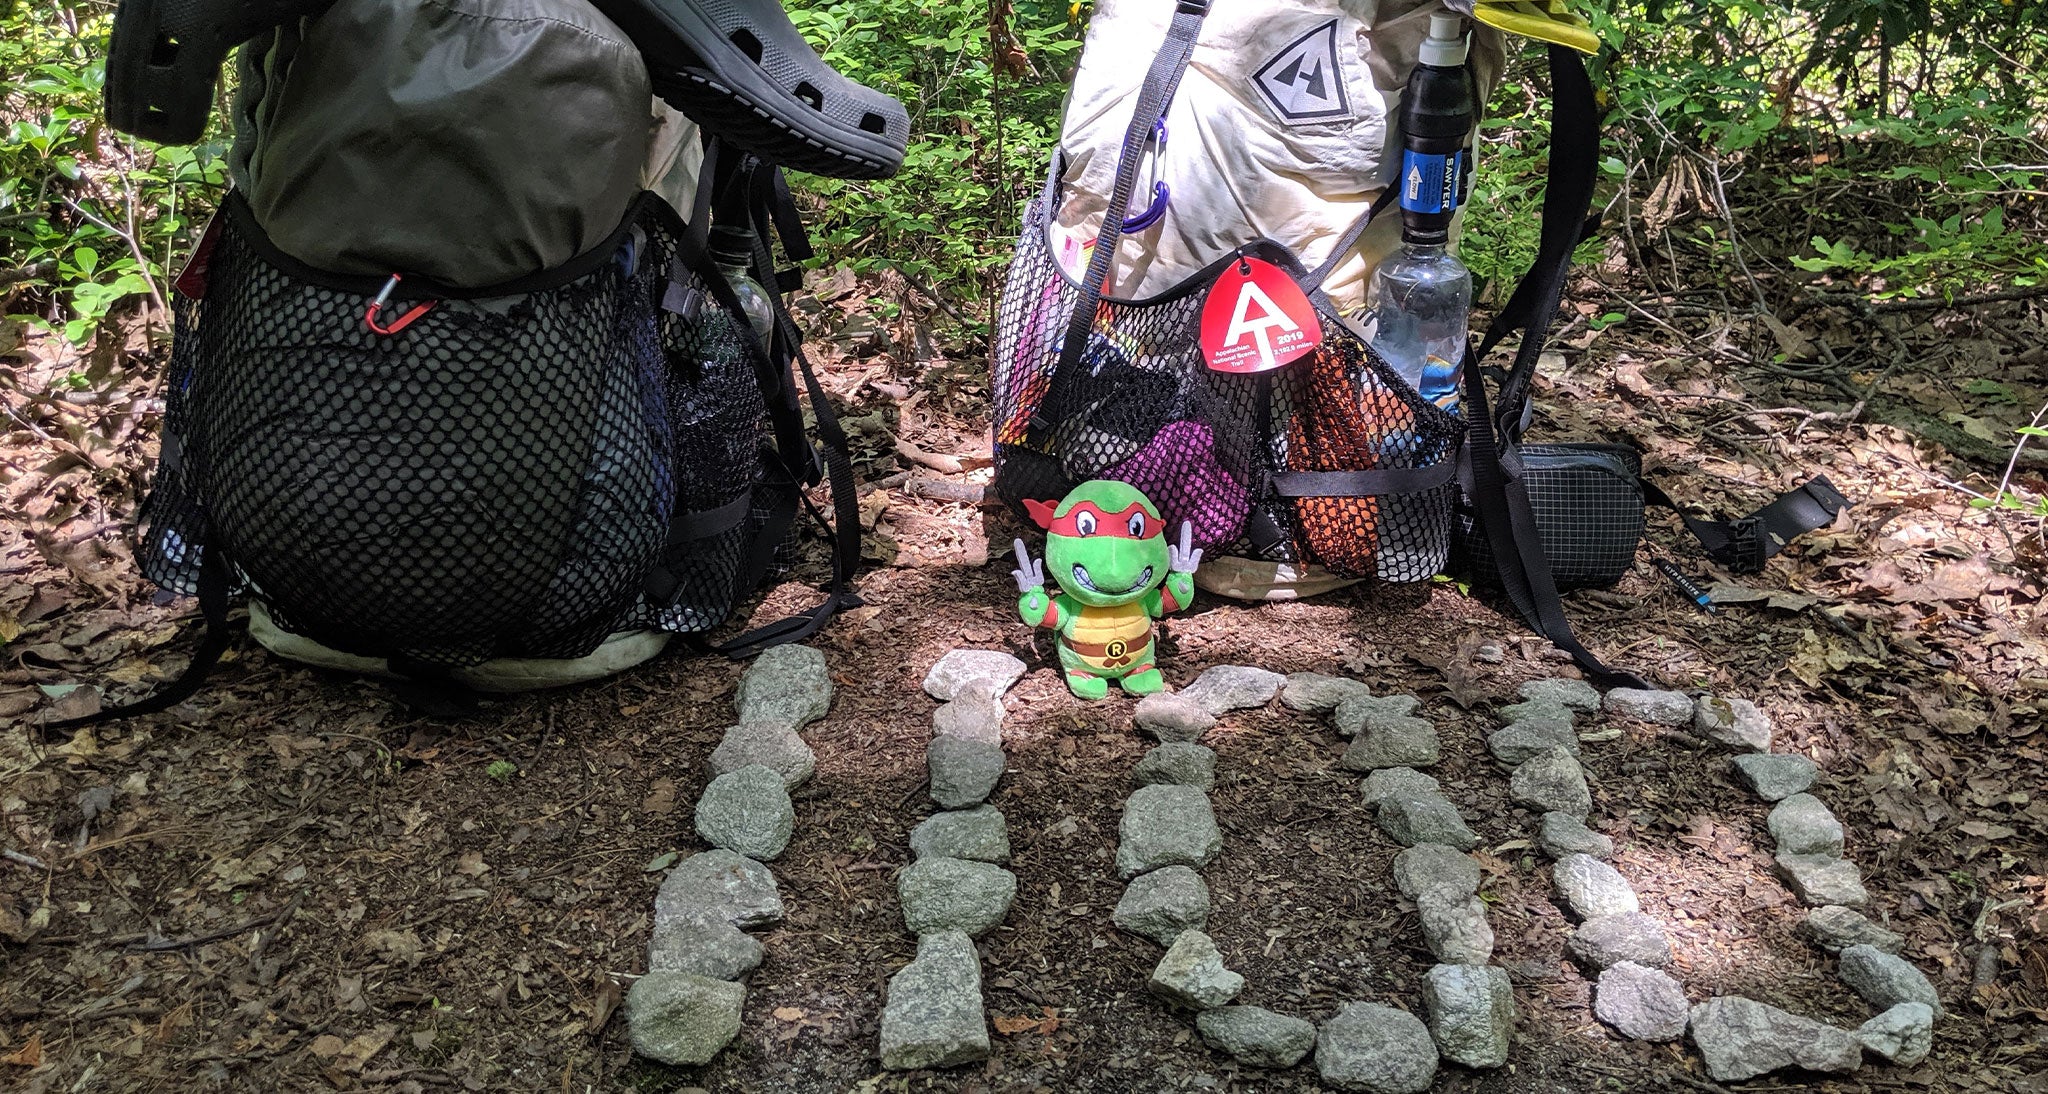
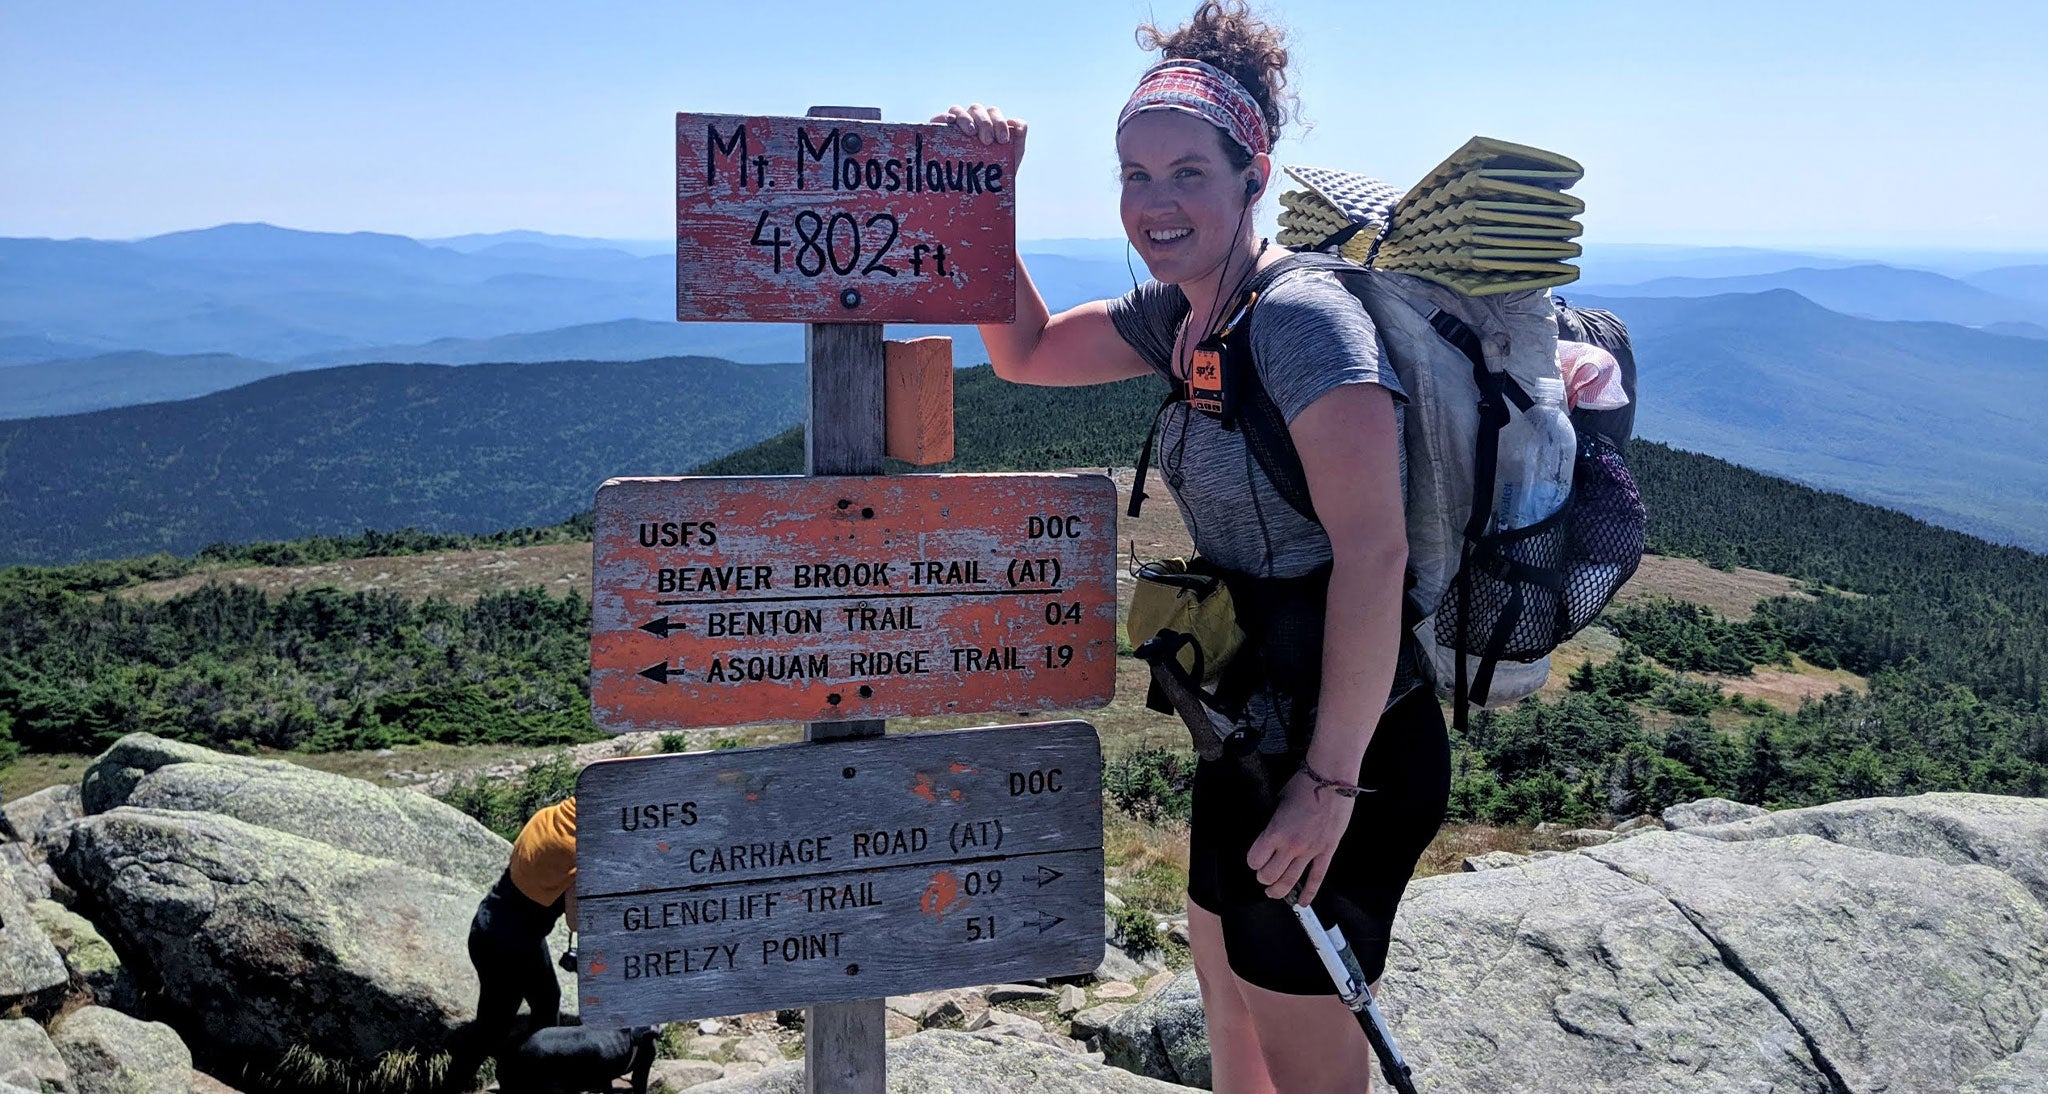
Different places and different people will require different gear. That being said, if you are planning to do a series of trips in a variety of locations, try selecting gear that will not only suffice but excel in all types of conditions. I went with my 2400 Windrider for this exact reason. This pack is tough, durable, and designed with integrity. The durability aspect played a huge role in my decision-making process. I wanted a pack that would withstand a thru hike and beyond.
When I discovered that Hyperlite Mountain Gear constructs their packs with Dyneema Composite Fabrics–the strongest fiber in the world, my decision was more or less made. And 1.87 lb? I couldn’t refuse. I was curious about the near 100% waterproofness, but I can now speak to the truth of this spec. When the trail cursed us with three to five days of rain, I was assured knowing that while my clothing was soaked, the contents of my bag were safe. Whether hiking in the Appalachians or elsewhere, waterproofness is a critical component of a good pack. My Windrider showed up for me in the rain. I couldn't have asked for more from the HMG team in this regard.
I am often questioned on the comfort of my pack being that it lacks some of the features (e.g., Anti-Gravity suspension system, ventilated mesh back panel, load lifters) of the commonly used Osprey Aura/Aether. While these features may make a pack objectively more comfortable, I feel they are unnecessary for me. The minimalist design of my Windrider is exactly what I was looking for, and I found it to be very comfortable. Added features should not be what make or break a pack. To me, simplicity in design is key for a thru hiking pack. Having six pockets in which to store items may sound appealing, but this flashy feature not only adds weight to the pack itself but encourages you to fill the space with things you may not necessarily need and thus, adds even more weight.
My Windrider is a 40L (2400 cubic inches) pack, and it was all the space I needed for the entire trail. I could fit all of my gear, 2L of water, and three to five days of food inside of it without it feeling overstuffed. The more space you have, the more you will be tempted to carry what you do not need. Six months sounds like a long time and this may make you feel like you need to bring a lot of extra everything, but as you will quickly find, less is more in the backcountry. Learning how to distribute the weight of your gear within your pack properly will help with comfort as well. If you’re moving into the ultralight realm and are freaked about losing added features, don’t be. There is so much to gain in losing what you do not need. I would not have chosen any other pack to bring on this adventure! It performed better than I ever could have expected. I am so excited to see how it shines when I take it out on the Pacific Crest Trail.
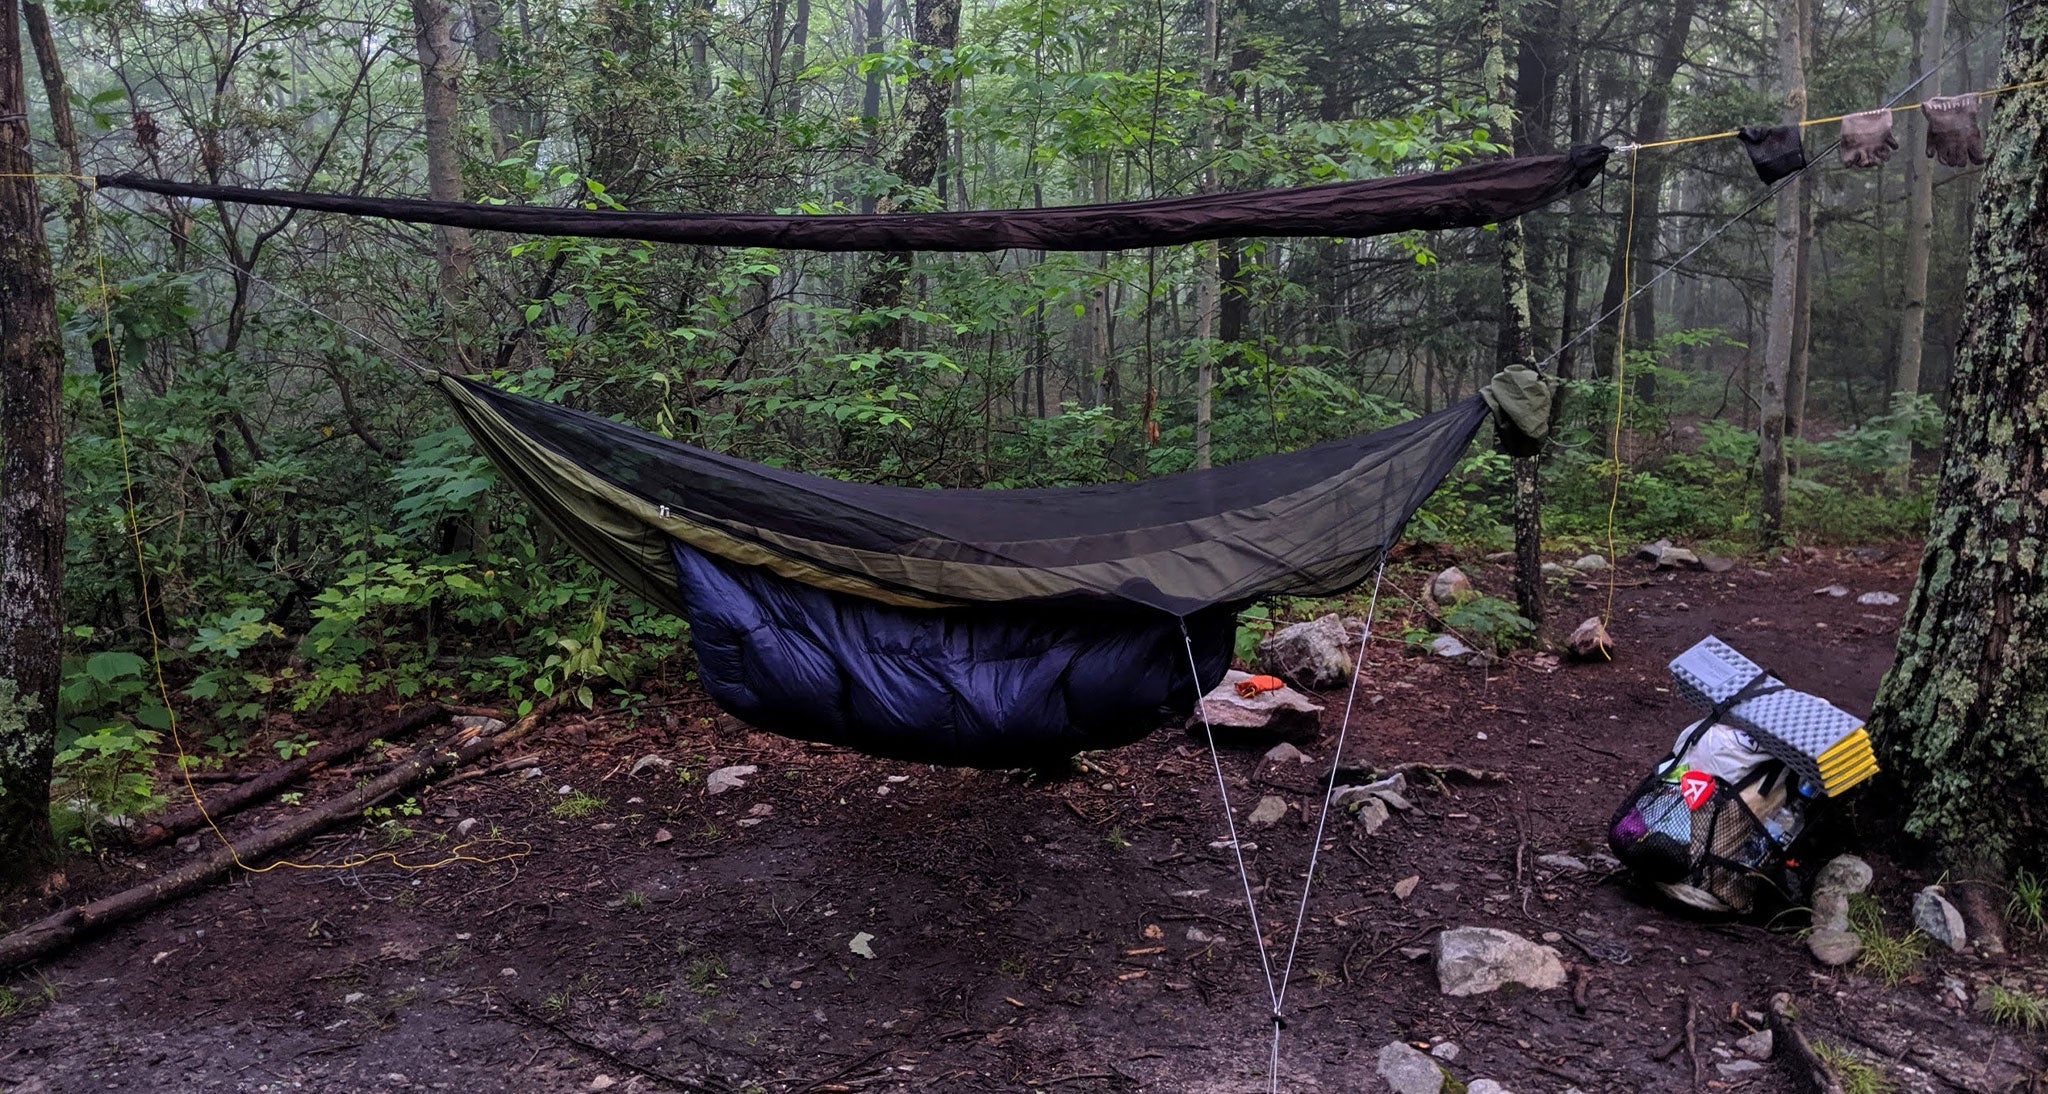
Because the ground quality of Appalachians tends to be neither flat nor level, it only made sense to me to become comfortable with hammock camping. As compared to other shelter options, I believed a hammock setup would function more appropriately for the Appalachian Mountains, and since returning, I can affirm this belief.
Most of the hammock-specific questions people ask me revolve around tree availability, overall comfort, and system weight. Let’s knock out tree availability first because the answer is simple. The Appalachian Mountains do not lack trees. Finding proper trees to set up a hammock and tarp was almost never a problem. This is commonly where people mention the White Mountains and Southern Maine, where much time is spent above tree line. To me, this question is almost void as camping above tree line is not recommended and sometimes not allowed at all.
The alpine zone is home to rare alpine vegetation and while these plants can withstand horrendous weather, camping on top of these species can permanently damage this unique area. While there is time spent above tree line, all camping should take place below. Not to mention, exposed camping can be dangerous as the weather can shift quickly and for the worse. If, by some chance, tree availability does indeed become a problem, there is almost always the option to sleep in a shelter for the night.
Overall comfort is subjective, but hammocks do a fantastic job of supporting body weight evenly and reducing pressure points. I enjoy tent camping just as much as hammock camping, but I can say I sleep better in a hammock. Hanging above the rocky, uneven ground as opposed to sleeping on top of it will always be my preference.
System weight–oh boy, I love this question. My whole system with hammock, straps, tarp, underquilt, accessories, and stakes rings in at about 2.9lbs. This is right around the weight of your average two-person backpacking tent. Could I have gone lighter? Probably, but for me, the best advantages of a hammock/tarp system over a tent are the amount of space it gives you to exist and the increased ventilation. A tarp creates a huge living space for one to do everything they need to do at camp. If it were raining, I would set up my tarp first and continue to do all my additional camp chores under its protection. This proved to be immensely beneficial as I could reduce the amount of time spent in the rain and not feel rushed.
Tarps also provide a refuge from the oppressive heat hikers are exposed to in the Summer. It is a good feeling to provide some shade for your friends. Increased ventilation is a massive perk. Condensation is an issue on the Appalachian Trail, and it is never fun to wake up and have to pack up a soaked-through shelter. Not to mention, if your tent is wet, whatever was inside of it may also be wet. To a greater extent than double or single-wall tents, open-ended tarp pitches prevent condensation from building up inside your hammock and underneath your tarp. Ultimately, this keeps your underquilt, sleeping bag, and other belongings drier.
A hammock system is much more than just a hammock and straps. There are five components that make up a secure hammock system. This includes a hammock (should have attached bug net), a tarp (w/ or w/o doors), an underquilt, and overquilt (I used a mummy sleeping bag in place of an overquilt because I had already purchased it), and a suspension system. The internet is full of information about hammock camping. YouTube and HammockForums.net are fantastic resources that I took full advantage of.
My system included the following - A Warbonnet Outdoors Blackbird Hammock (non-removable top net), A Warbonnet Outdoors Mamajamba Tarp, an Enlightened Equipment Revolt 20F underquilt, and a Therm-A-Rest Hyperion Sleeping Bag. For my suspension system, I chose Warbonnet’s Whoopies w/ Dynaweave Straps and a pair of fishhooks. Yes, I know how foreign that sounds to a non-hammocker. I felt the same way.
In making these decisions, I consulted YouTube often. I watched others set up the same systems and breakdown what each component did. I became comfortable with the language and felt much less helpless. I visited Dutchware’s website and shopped around for tarp accessories that would promote ease of setup. I purchased four Fleaz w/ shock cord and Zing It! to attach to each of the D rings on my tarp and two Stingerz w/ 12’ of Zing it! to attach to my ridgeline. Even after getting off trail, I still feel confused by the hammock world. There are many innovative products out there to make one’s hammock experience more comfortable and streamlined, and learning how to use them is simply a matter of researching and asking questions!
One mistake I made prior to trail was not playing around with my shelter system enough. It was only about one month before I left for trail that I committed to using a hammock setup. If you don’t already know, there is a steep learning curve associated with hammock camping. This does not mean it is inherently more difficult than tent camping–it’s just different and takes some getting used to. Although I got the hang of it (hah, how punny) relatively quickly, there were plenty of moments spent wishing I had more field experience with my setup - e.g., in rainy, windy conditions.
Sleeping bags! Down or synthetic? Mummy bag or quilt? What temperature rating? I had so many questions and perhaps too much time. If I were to create a pie chart displaying the amount of time spent researching each piece of equipment, “selecting a sleeping bag” would be half the circle.
I began with the down versus synthetic debate and determined a down bag was the optimal choice for me because of the increased packability and lightweight compared to synthetic. I was worried, however, about all the rain and humidity, I knew I would encounter in the Eastern Appalachians and how this would affect the down over time. I spent countless hours researching different down sleeping bags and quilts, but in the end, a suggestion from a friend became the guiding light I desperately needed! I decided to go with Therm-A-Rest’s new Hyperion 20F Sleeping Bag. This bag wasn’t even on my radar, but it had all the features I was looking for.
I was drawn to a few specs on this bag, but particularly the 900-fill Nikwax Hydrophobic Down, which will keep you drier and warmer for longer as compared to untreated down. Also, weighing in at a 20oz, it is perfect for any extended time in the backcountry. Its mummy design wasn’t ideal, but I figured the other features would make this drawback not so bad.
As for how it performed, it was okay. The weight was undoubtedly the best feature of this bag. I was consistently grateful to have a sleeping bag that was so light and compressible and did not regret my decision to go with a down bag. The temperature rating seemed to be a bit too high, as I was almost always cold in the Spring and early Fall. In the Summer, I suggest switching to a liner as most sleeping bags and quilts will just be too much in the heat. The mummy design remained an unideal feature for me throughout the trail. It was a bit too constricting for my liking, and I would often get disoriented inside the bag. Personally, the roominess of a quilt appeals to me more. Overall, the Nikwax Hydrophobic Down performed very well, and I was happy with how dry my bag stayed even in insanely humid conditions.
Don't be frightened by the idea of establishing your gear list. Reach out to those around you who you feel may know more than you do. People who love gear also love talking about it. The internet is endlessly helpful as well. Read hikers blogs, join thru hiking groups on Facebook, check out trail-specific forums, and follow backpackers on Instagram. There is so much information out there just waiting for you! Here is a peek at the rest of the equipment that got me through the trail! Good luck!
Therese Hobson is an Appalachian Trail thru-hiker and blogger. If it involves hiker-trash or playing in the mountains, you can count her in. A gearhead at heart, she can almost always be found talking equipment. You can further follow her adventures on Instagram: @theresehobson.
YOUR CART IS EMPTY
Let’s find you the right gear for
your next adventure.